CYBERHOLIC
In pixel we trust.
Fuck ADHS. Fuck CPAP. Fuck Diabetes. Fuck Cancer. Fuck war. Fuck luck.
Last updates
Latest wallpaper

I podcasts
Cyberholic Favlinks
Amazon wishlist





My asia shoppings

In case of emergency break IKEA glass.
13.10 2026 |
17:12:00 |
Blog
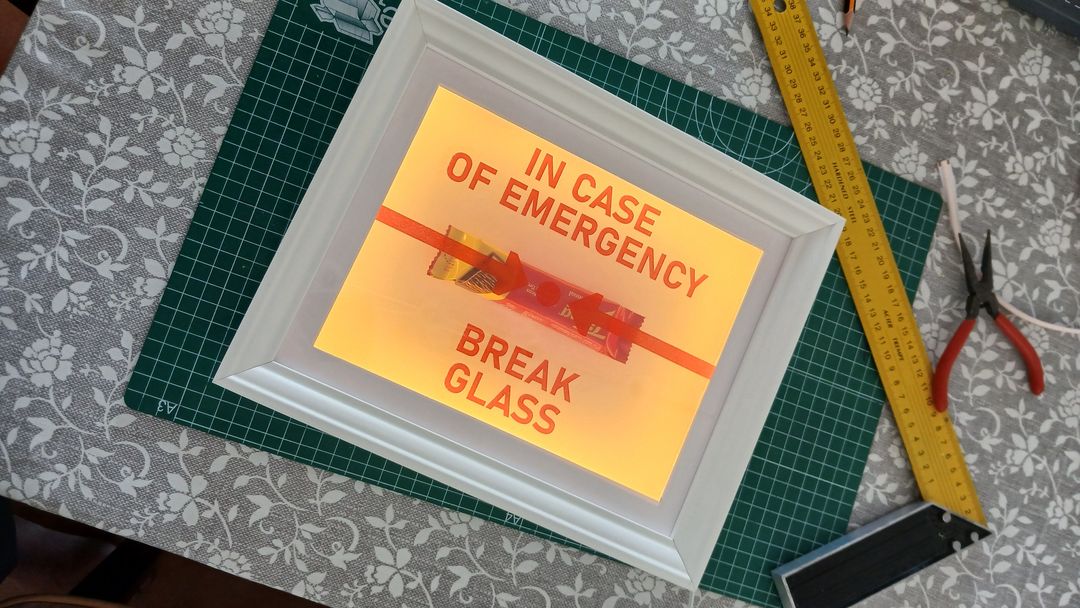
So as part of a birthday gift i had this idea to create an emergency box containing a last surviving cookie or chocolate brick when there is none in the flat. Like always i try to create as much as possible with IKEA products and apart of the "glass-prints" this is a super easy DIY project and incredible personal gift.
So the idea is to create the "Break Glass in case of emergency" box with a full size acetate print like i use for my products at qrofties.com - acetate paper is a plastic-like paper that allows you to print any color apart of full white.
This whole project has an average cost of 30 EUROS. Depending on how many design prints you try and the chocolate bar you use. You are free to send me chocolate bars so that i can test if they fit into the project :)
Stuff you need:
1 x IKEA VÄSTANHED picture frame, 20x25cm
1 x IKEA KABBLEKA led strip or IKEA MYRVARV strip
1 x white or red craft paper as front passpartout
20 x cable guides (optional)
10 x design layouts (download below for free)
1 x chocolate bar or similiar
Tools you need:
1 x scalpel or cutter
1 x guillotine
1 x scissors
1 x ruler or tape measure
ATTENTION about the LED strip
Please be aware that in my case i was able to buy a IKEA Myrvarv LED strip that is dimmable. Appearently IKEA as removed them from their productlist, but the IKEA Kabbleka is fine too, as you can see on the photos. You can use any of their LED strips, even the RGB ones so that you can play around with different color lightings.
ATTENTION about the frame I do love the whole RÖDALM product line by IKEA, but in this case the VÄSTANHED frame in white with a size of 20x25cm is perfect for this project! Its depth is deeper and with a perfect passpartout it stands out giving the whole design a nice 3D effect. Also because of its depth, it has enough strength to be used standing either vertically or horizontally without attaching it to a wall. This way you can easily use it on a shelf or nightdesk.
It's time for the instructions, though everything should be self explainatory through the photos.
STEP 1 Get all your stuff together and though that the project is a rather small one, having as much space as possible will be in later steps easier to tame the snake aka handle the LED strip twirling around.
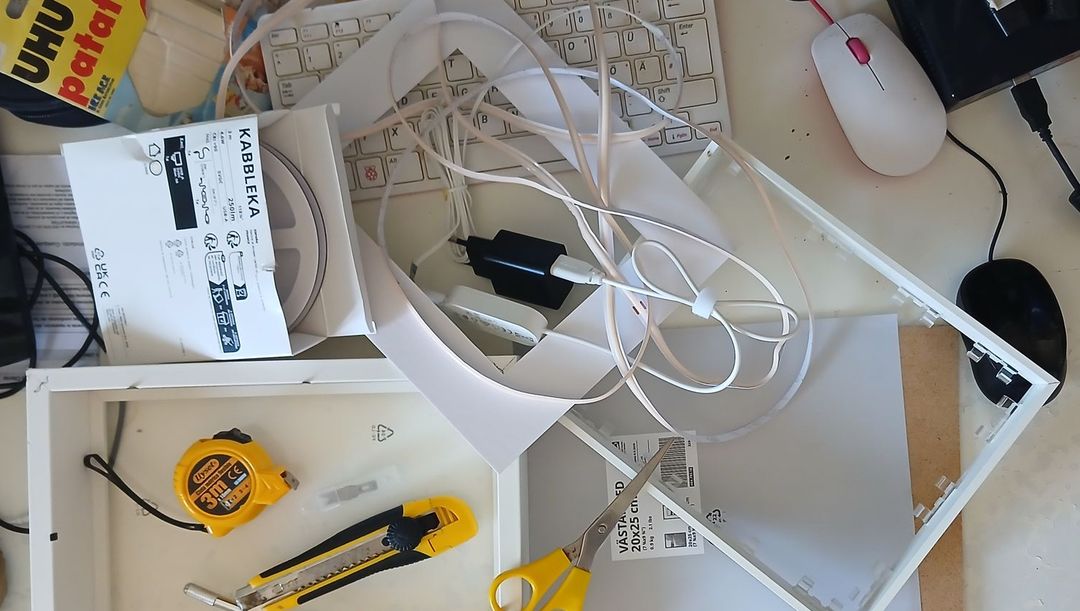
STEP 2 Adapt the inner cut-out of the passpartout into a size fitting into the design you select. Depending on the design you use, it might work out with the cut-out passpartout that comes with with the frame itself. As i wanted the LED strip to be more hidden, i used a white craft paper of 20x25cm and gave it a border of 2.4cm each side so it hid the light strip making it more subtile. This means that you take a 20x25cm craft-paper, with a pencil paint the inner cutout and then use the scalpel or cutter to cut it out. Be aware to use a light pencil as you do not want the drawlines to be seen throgh the craft paper. Or you use a thicker paper or multiple sheets.
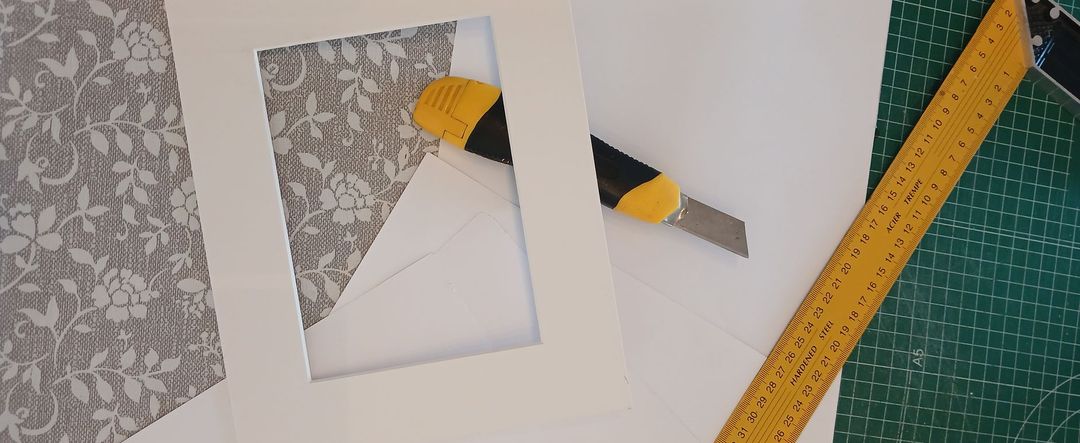
STEP 3 The passpartout size also depends on the design that you want to use - on photo 3 you can see that the one that came with the frame was too big for the design, resulting in the letters being cut over the frame. What looks weird.
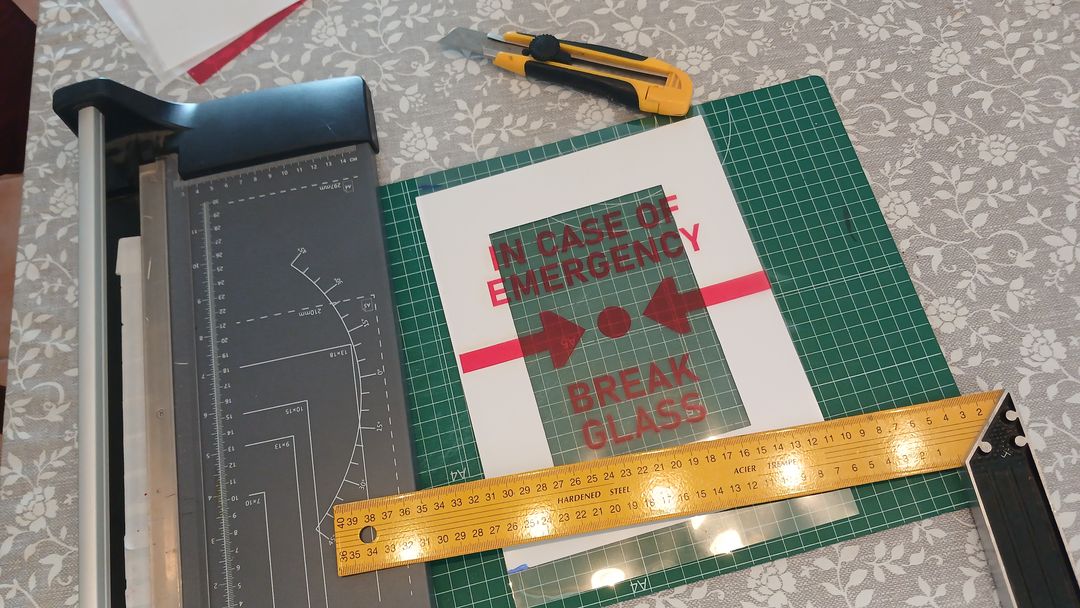
STEP 4 On step 4 you can see the design that i used being in front of the PVC glass of the frame. This way the arrows are in front of the passpartout. At the end of my project you will see that i have moved the passpartout one level back so that the arrow lines are not seen anymore reaching to the end of the frame border.
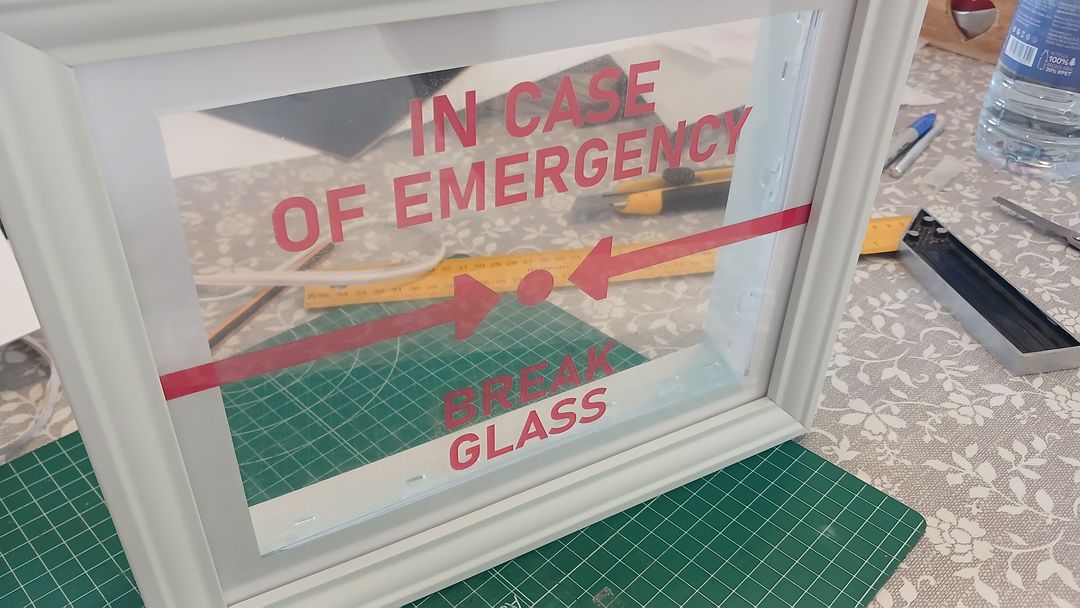
STEP 5 This step is optional as the LED strip comes with a superb gluestrip on its back so that you can attach it directly on the frame. I chose to use these cable guides so that i can easily substitute the LED strip whenever needed without destroying the frame. This is realy al gusto what you prefer. These plastic transparent guides can be bought on TEMU or ALIEXPRESS in packs of 10, 20 or even 50 and are very cheap.
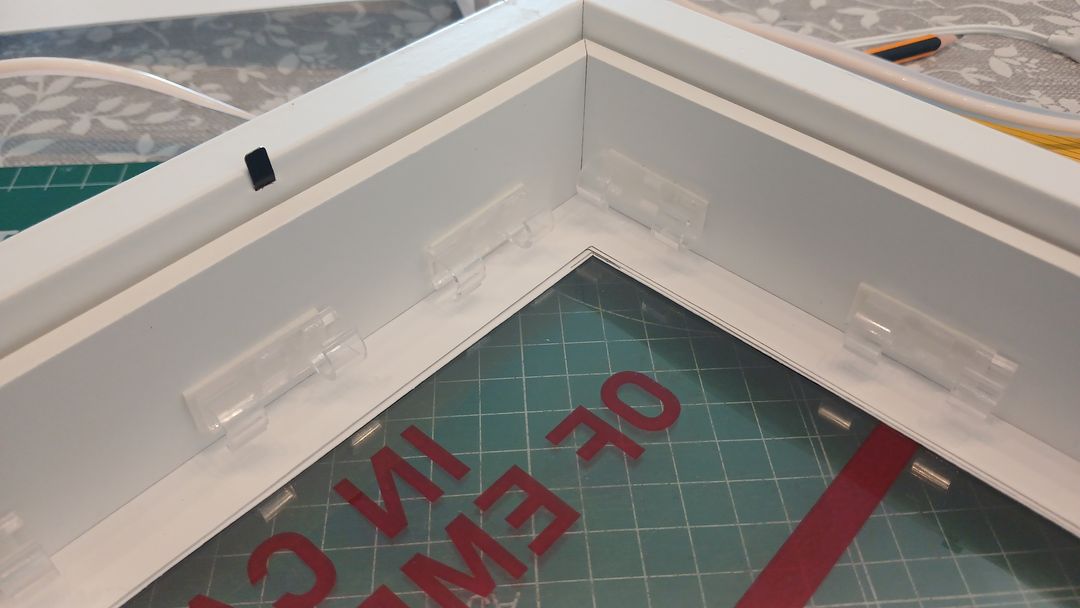
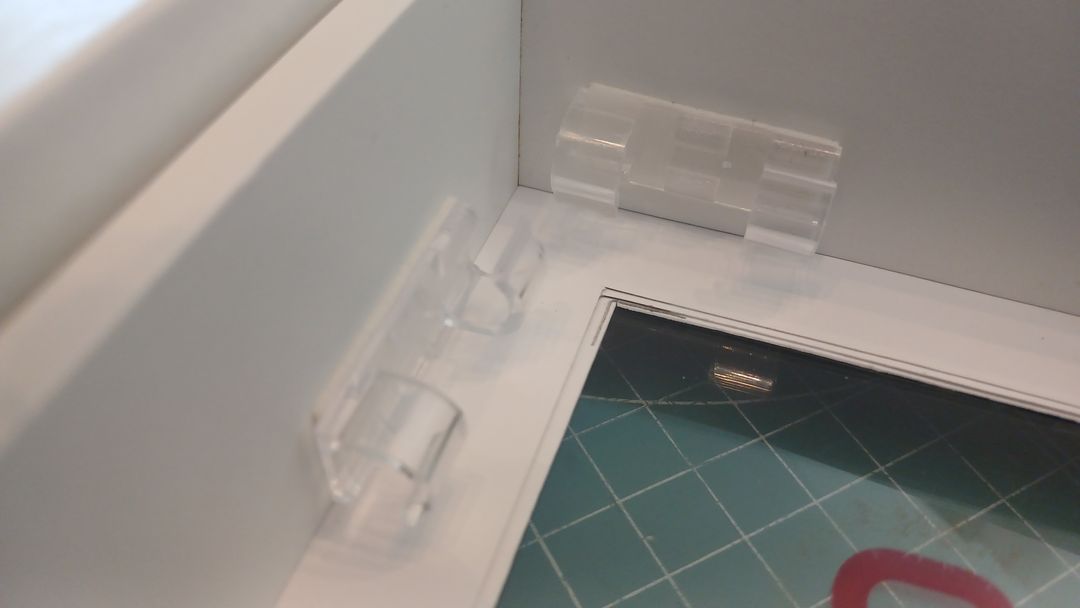
STEP 6 Once you fit the LED strip into the guides you will notice that the inner backboard of the frame already has some kind of cut-out corner. You can cut it out more so that the cable and switch fit into it. I did not attach the switch to the frame, but even that is possible if you want. The board itself is thin enogh that you can use some good scissors or a cutter to open it more.
STEP 7 All you need to do now is assamble the frame together in this way: on top the plastic PVC that came with the frame, the passpartout, the acetate print, the wooden spacer frame, the inner backboard. That's all.
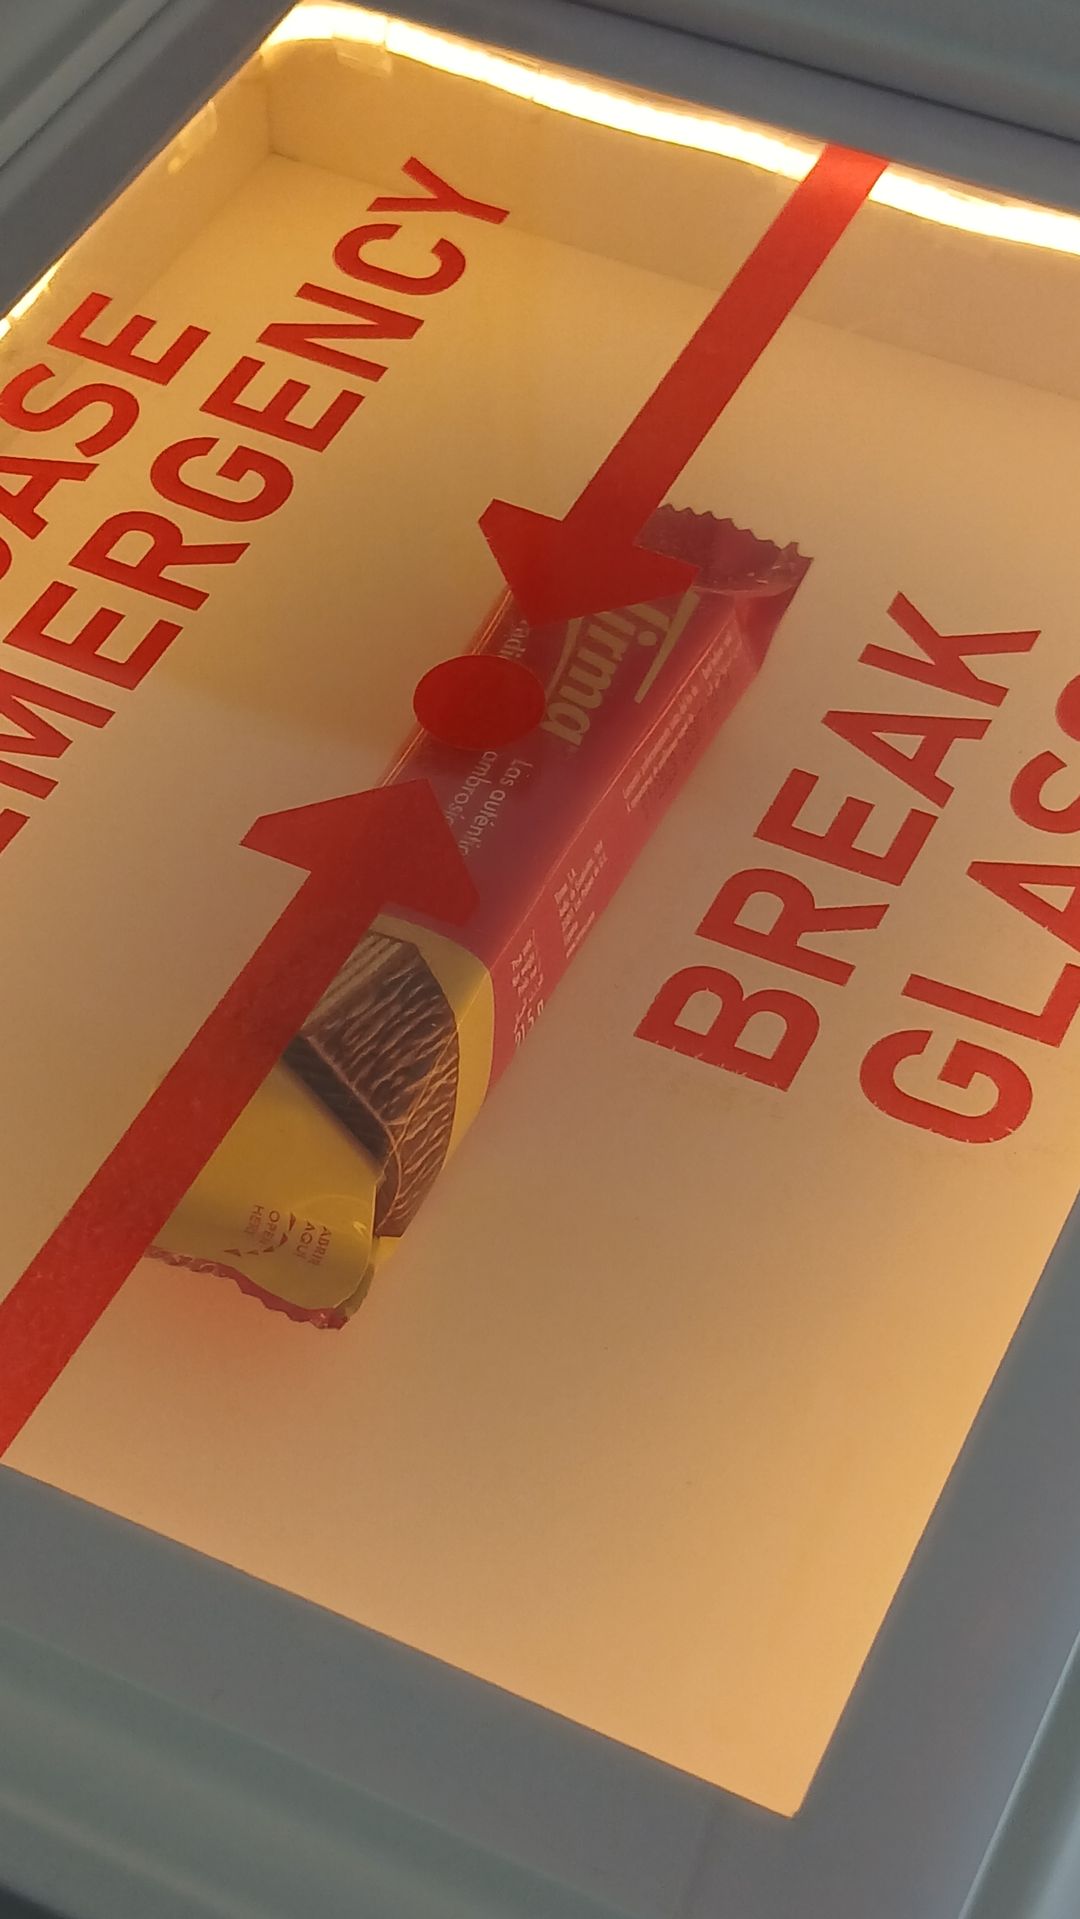
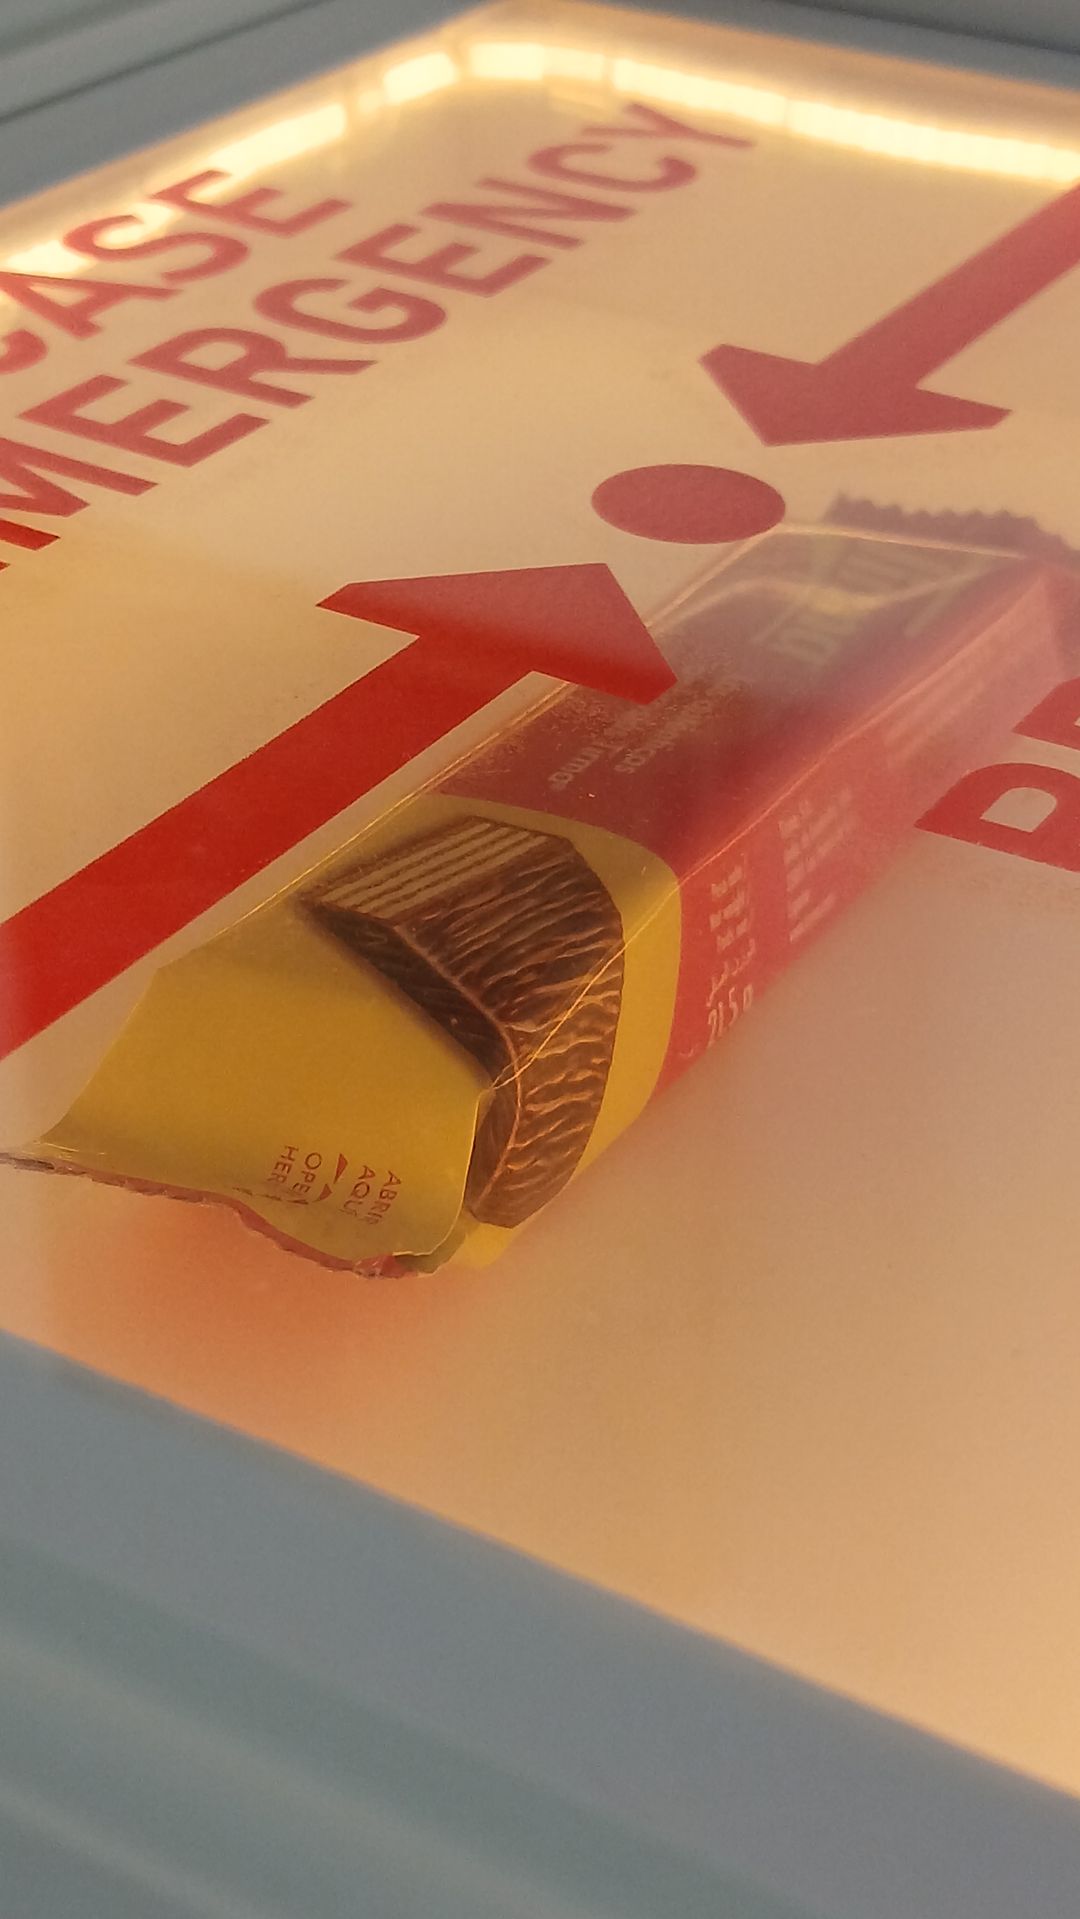
At the end this is how it looks like:
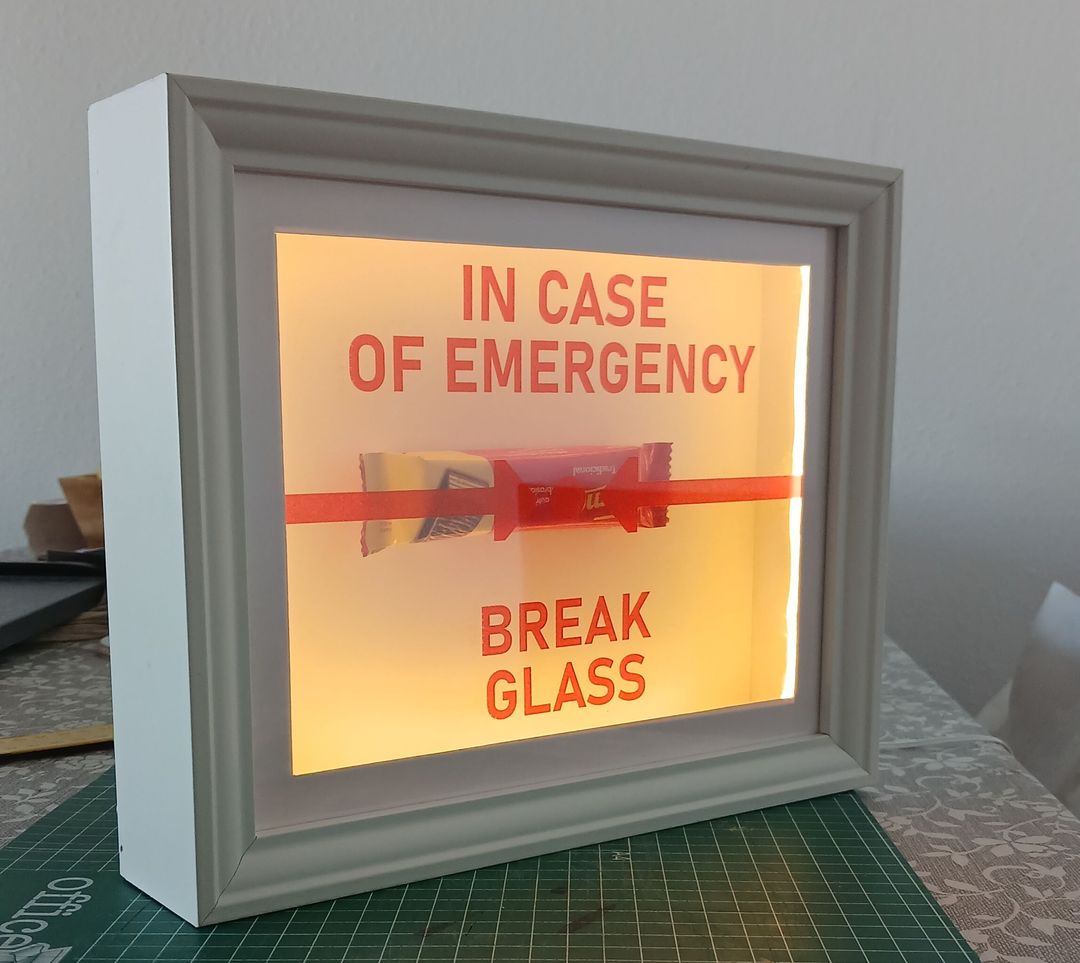
You can download a handfull of "break glass" designs i made by download the following ZIP file. All designs come as transparent PNG file. Depending on your printer or printshop you might need to adjust the size a bit.
Download the cyberholic-break_glass_box.zip file for free.
http://www.ikea.comBuy my books


My Android apps
 StaLaFlu
 Stinkebomb
 Butschi Polizei
Docs i recommend







Movies i watched

TikTokkers i follow
ComedianDeeJay
 Jeff Arcuri
 Max Amini
 Niall MacMillan
 Nickxar
 Raphael Barbosa
Fuck Racism
 DJ Rephate
 GUNS
GUNS
 Kerco
Kerco
Social Movement
 Danesh
 TizzyEnt
Music
 Cart Narcs
 Joey Swoll
 Stella
News
 B. Dakota Rogers
 Roisin Murphy official
 P. Hicks music stories
Shopping
 Brut.
Brut.
 Mal Content News
 Marcus Dipaola
xyz
 Inspector Gadget
 Marques Brownlee
 Subway Creatures
Interior i love